


_edited.png)
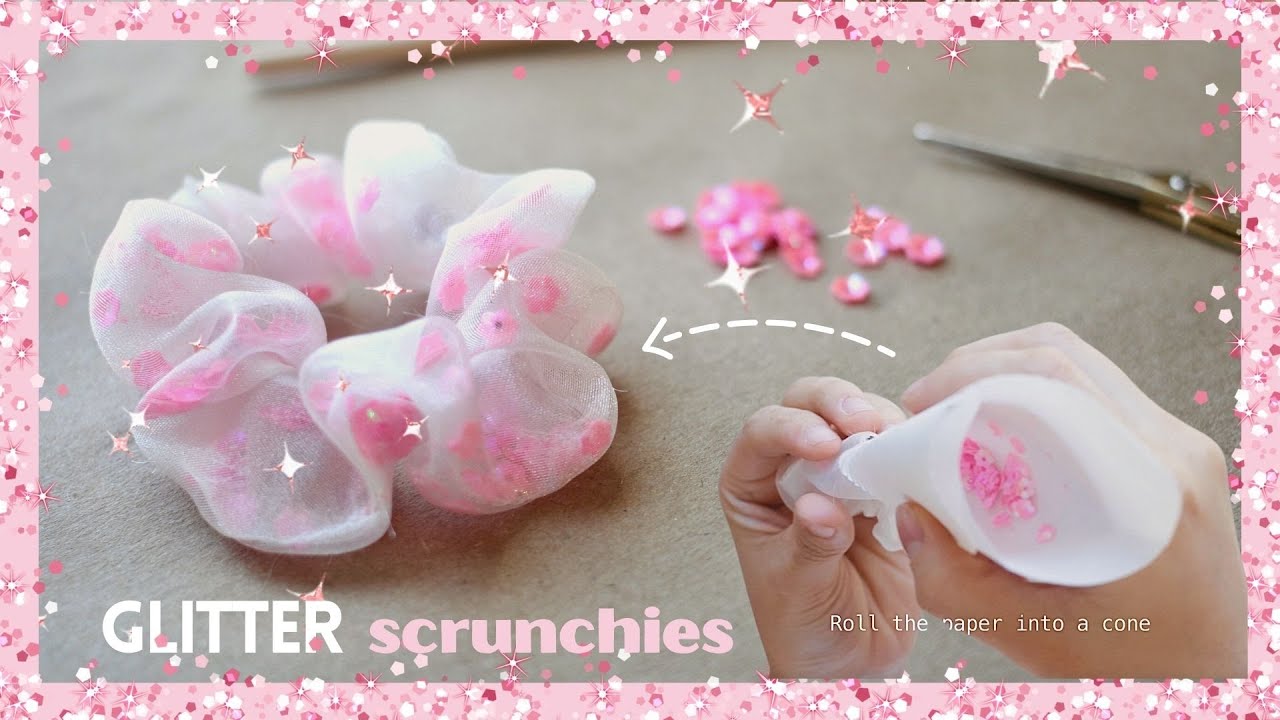
How to Make Scrunchies 🖤 3 Styles - 3 Ways | DIY Hair Accessories
- bnma2703
- Oct 25, 2021
- 4 min read
Scrunchies are very popular when it comes to slaying a vintage look. It's one of the best hair accessories for girls which never runs out of style. In this tutorial, I'd like to share with you How to make these classy and practical scrunchies in 3 different styles. It will be super easy and super fun to make! What are you waiting for? Let's get started!
If you want to take a closer look, here is my tutorial video. Have fun watching!
Tools and Materials
Safety pin
Elastic band
Fabric piece
Embroidery machine
Scissors

Now, without further ado, let's make the first style of scrunchies!
Type 1: Mini Scrunchies
Cut the fabric
Cut out a 40cm x 5cm piece of your desired fabric. It could be silk, velvet or cotton strip.

Next, cut out a piece of elastic of length 17cm.

Attach them together
Once you have 2 pieces, fold the strap in half lengthwise and stitch its edge using your sewing machine.

Turn the tube right side out
Grab your safety pin to turn the scrunchie on the right side. You can attach it at one end and weave the pin through the inside of the tube and pull it out on the opposite end.

Insert the elastic
Then, use it again to thread the elastic through the tube.

Stitch your scrunchie
To close the scrunchie, you can make a small knot or hand-stitch all the way around the edge.

Finally, it’s time to show your stitching skills! Manually sew two edges of the scrunchie by the invisible stitch.

Congratulations! You’ve finished with your first small scrunchie. It is so simple, isn’t it? Be patient. Practice makes perfect!
Type 2: Large Chiffon Scrunchies
It’s time to head for oversized scrunchies. This is a cute chiffon one which delivers an elegant and trendy vibe.
Cut your fabric
Cut out a 100cm x 12cm fabric and fold it in half.

Sew the strap
Remember to leave a gap of approximately 3-4cm. You may need to use pins to mark the gap. It helps you sew more easily and without confusion.

Stitch the edge with the sewing machine. Remember NOT TO stitch the gap. We need this later.

Turn the fabric to the right side
Next, turn the fabric inside out by gently threading it through one end.

After that, thread the shorter end through the gap.

Then, insert the other end inside.

Sew around
Use your sewing machine to sew around the opening edges to attach 2 layers together. This is what it should look like. Remember, be careful not to close the gap.

Next, hold the two tails and pull gently to turn the scrunchie right side out.

Insert the elastic band into the scrunchie. Attach the safety pin to one end of the elastic so that it travels more smoothly inside of the scrunchie. Mildly wrinkle the fabric to shape an elegant wavy form for the scrunchie.

Once you’ve finished, manually sew the two ends of the elastic together to secure the knot.

Don’t forget to cut unnecessary threads for a presentable look.

To finish off our large chiffon scrunchie, blind stitch to close the gap. Here is the result.

Tada! So you've completed your second scrunchie. With simple techniques and a little patience, you have acquired yourself a feminine and classy chiffon scrunchie that will definitely help you stand out from the crowd.
Type 3: Two-color Scrunchies
This dual color scrunchie will catch everyone’s eye. It is a fashionable yet functional gift for your bestie.
Prepare Materials
This time, you will need a 40cm x 5cm white strap and 40cm x 8cm brown strap. I went with this color combination because it delivers an elegant and vintage vibe. However, feel free to combine different colors together. Don't hesitate to use pop colors if you prefer a trendy and confident look.

Fold the fabric
Next, place the white strap on top and make sure its lower edge aligns with the brown one.

Then, fold them in half and use straight pins to secure the bottom edges. Be patient and it would be a straight line.

Once you've finished, use your sewing machine to stitch the edge.

This is what it's going to look like after the stitching process.

Turn the tube on the right side
Next, turn the fabric inside out.

There you go! Now, it's time to move on to the next step: forming the scrunchie.

To insert the elastic band inside your scrunchie, you may need the safety pin. As I've said before, this will make it easier to keep track of the elastic while it's inside the fabric.

Finishing touches
Then, make a tight knot by tying 2 ends of the elastic together.

Using the invisible stitch technique to join two edges of the scrunchie together.

Voila! You've successfully finished making a fashionable two-color scrunchie to accentuate your gorgeous hair. So lovely, right?

That was How to Make Scrunchies in 3 different styles
And that’s all. You’ve got yourself 3 different styles of scrunchies that are suitable for any outfits. You can change the color and the fabric pattern to create various charming and distinct scrunchies out of these 3 major styles. These hair accessories will instantly elevate your outfit and help you stand out from the crowd. I hope you enjoyed this easy step-by-step tutorial. Let me know what you think in the comment section below. .


Comments